Preview and activate
See your raffle as a buyer would, then take it live.
You've built it — now check it and go live.
Preview first
Before activating, preview your raffle to see exactly what a ticket buyer will see: your banner, description, prizes, and the purchase flow. It's the best way to catch a typo or a missing image while it's still easy to fix.
You can even complete a test purchase from the preview — walk the whole checkout through to the buyer's confirmation page, with no payment taken, no tickets issued, and no emails sent. See Preview your pages for how it works.
Activate
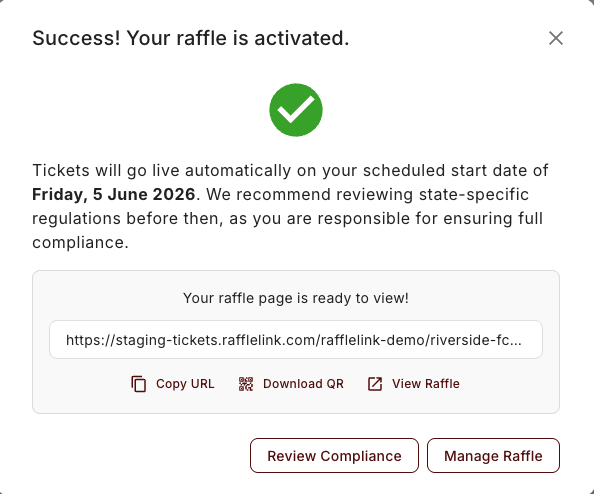
When you're happy, activate the raffle. You'll confirm the go-live date, and your raffle becomes active — it goes public on its scheduled start date and starts selling tickets.
You'll need a verified email to activate
Activating (and submitting for review) requires a verified email address — it's the one place email verification is required. If you skipped it at signup, you'll see a prompt with a Resend email button on the builder. See Verifying your email.
The draw still won't happen on its own
Activating sets your raffle live; it doesn't draw anything. When the draw date arrives, you run the draw yourself — by design, so you can check everything over first. If you'd rather it ran without you, that's a separate, deliberate choice you make later on the Draw page: see Automatic draw.
What changes after you activate
Once live, you manage the raffle from its dashboard, and editing moves into a more careful mode — some fields stay editable, some notify ticket buyers, and the ticket price is locked. See How creating a raffle works for the summary, with the full breakdown in What you can change after activation.